Key Takeaways
- Professional removal is a controlled, staged process — not a simple strip-out.
- Extraction methods differ by foam type: open-cell is softer and faster to remove; closed-cell requires more time and care.
- Waste is bagged and removed from site, not simply swept into the loft.
- A post-removal timber inspection establishes whether repairs are needed.
- Re-insulation with breathable materials follows.
- An independent RICS-verified certificate (not self-issued) is the final and critical step for mortgage purposes.
- Typical site time: two to five days. Full timeline including certificate: four to eight weeks.
Step 1: Survey and Preparation
Before removal begins, a reputable firm will carry out (or review the findings of) a detailed site survey. This establishes:
– The foam type (open-cell or closed-cell)
– The area of foam coverage
– Loft access arrangements — hatch location, headroom, obstacles
– The presence of electrical cabling, water tanks or pipework that need protecting
– Any initial visible condition concerns about the timbers
Preparation on the day of removal includes:
– Protecting access routes through the property (staircase, hallways) with dust sheets and boards
– Setting up extraction equipment — industrial vacuum systems to manage foam particles and dust
– Protecting loft-based services (water tanks, electrical panels) from dust ingress
– Establishing a contained working environment
Occupants typically do not need to vacate during removal, though it is advisable — particularly for those with respiratory sensitivities — to spend removal days away from the property or in unaffected parts of the home.
Step 2: Extraction
The core of the job — physically removing the foam from the timbers — differs significantly by foam type:
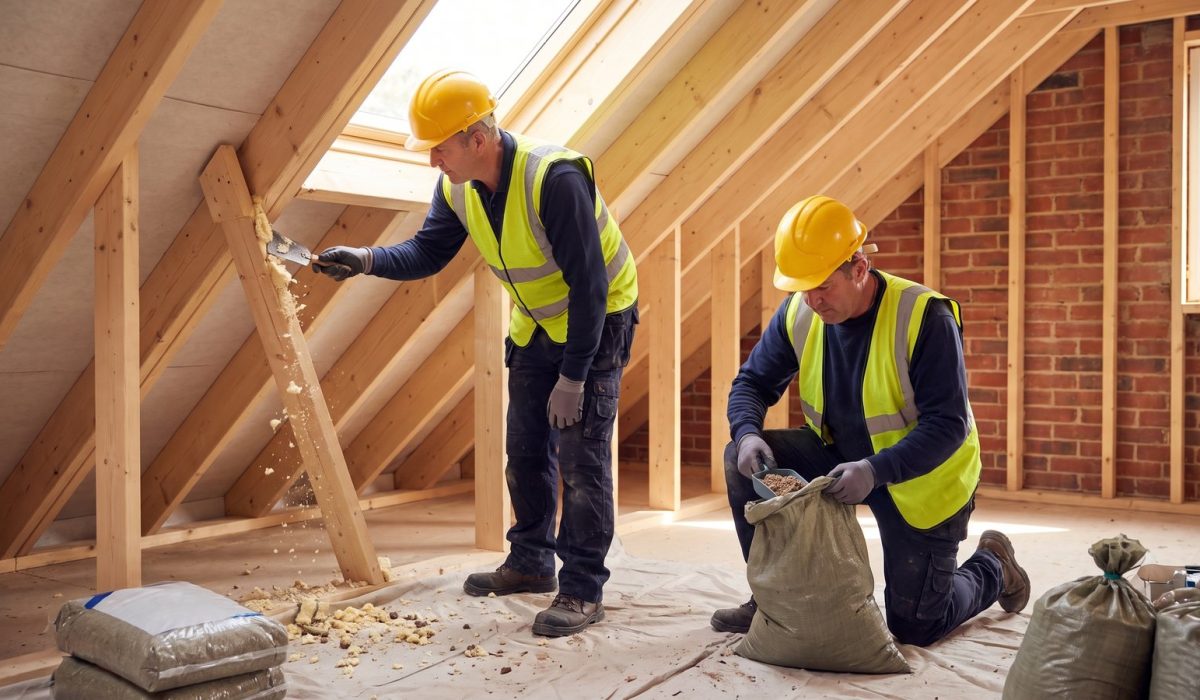
Open-cell foam removal. Open-cell foam is soft and can often be broken away from the timber surface in pieces. Operatives work methodically along each rafter, breaking the foam free, collecting debris into heavy-duty bags, and clearing the timber surface. Flat-head tools, scrapers, and hand techniques are standard. Industrial vacuum extraction manages airborne particles. For most standard lofts, open-cell removal proceeds efficiently.
Closed-cell foam removal. Closed-cell foam bonds very firmly to the timber surface. Removing it without damaging the rafter requires greater care — a combination of mechanical tools, heat (in some specialist applications), and careful scraping along the grain of the timber. Operatives move more slowly along each rafter, taking care not to cut into or gouge the wood beneath the foam surface. Any heat-based technique requires specific equipment and safe-working procedures to avoid fire risk.
In both cases, the objective is to remove the foam cleanly down to the timber surface, leaving the wood exposed and assessable.
Step 3: Waste Management and Clean-Up
Removed foam is classified as waste under UK regulations and must be disposed of lawfully. Professional firms collect the foam debris in purpose-made heavy-duty bags and remove it from site for appropriate disposal at a licensed facility.
After extraction, the loft space is cleaned — vacuum-clearing residual foam particles, dust, and debris. The result should be a clean, foam-free loft space with exposed, assessable timbers.
Step 4: Timber Inspection and Repairs
Once the foam is removed and the loft cleaned, the timbers are exposed for the first time — often for years. A trained operative (and, separately, the independent RICS surveyor who will later issue the certificate) can now:
– Inspect all rafter surfaces for moisture damage, discolouration, mould, or soft spots
– Use a moisture meter to check timber moisture content against acceptable thresholds
– Assess the integrity of the ventilation void and eaves openings
Where moisture damage or early rot is identified, repairs are carried out at this stage:
– Surface mould treatment and drying
– Localised timber replacement for more advanced sections of decay
– Restoration of eaves ventilation where blocked by foam residue
Repairs at this stage prevent the problem from progressing further and are a prerequisite for a clean RICS certificate.
Step 5: Re-insulation
A healthy, mortgage-friendly roof needs insulation as well as ventilation. After removal and any repairs, breathable insulation is installed — typically at ceiling/joist level, which is where loft insulation properly belongs in a traditional cold-roof construction.
Options include:
– Mineral wool (glass or rock wool) — the standard, widely accepted, lender-friendly choice
– Natural fibre insulation (sheep’s wool, wood fibre, hemp) — breathable and environmentally preferred
– Multifoil systems — suitable in some configurations with appropriate air gaps
See our alternatives guide for a comparison of post-removal insulation options.
Step 6: Independent RICS Certificate
The final and most important step for mortgage purposes. An independent RICS-registered surveyor — not affiliated with the removal firm — visits the property and assesses the completed removal. They confirm:
– That the foam has been fully removed from all surfaces
– That the roof timbers are in acceptable condition
– That the property is now suitable for standard mortgage lending
This produces the RICS-verified removal certificate — the document mortgage lenders need to see. Self-issued certificates from the removal company itself are generally not accepted by lenders. Independence is the critical word.
How Long It Takes
| Phase | Typical duration |
|---|---|
| Survey and preparation | 1–2 days (may overlap) |
| On-site foam extraction | 2–5 days (depending on area and foam type) |
| Timber repairs (if needed) | 1–3 days additional |
| Re-insulation | 1–2 days |
| Independent RICS survey and certificate | 1–2 weeks after completion |
| Total from instruction to certificate | 4–8 weeks typically |
Plan this into any transaction or remortgage timeline well in advance.
The Bottom Line
Professional removal is a thorough, staged process that ends with certified, lender-ready documentation. It is not simply “removing foam” — it is restoring the roof to a standard-construction state, documented by an independent expert.
Request a removal quote or book an independent inspection to begin the process.
This is general information, not financial advice — please consult a qualified mortgage broker about your circumstances.
Related reading: Can you remove spray foam yourself? DIY risks · How long does spray foam removal take? · Spray foam removal certificate: what it proves